This tutorial will show you how to do MLA Format using OpenOffice. We will perform the following settings:
- All text is font “Times New Roman” & Size 12.
- One-inch page margin for all sides (top, bottom, right and left).
- A header with your last name and page number 1/2 inch from the top-right of each page.
- The entire research paper is double-spaced.
- Your name, name of professor, course title, and due date of paper on the first page.
- Your research paper title is centered.
- Body paragraphs have a 1/2 inch first line indent.
- A Works Cited page beginning on a separate page at the end of the paper.
I. How to Set the Font and Size:
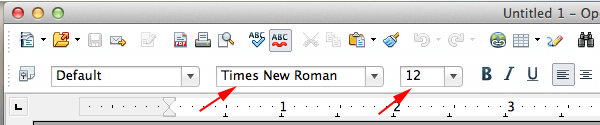
- By default, OpenOffice uses font “Times New Roman” and size 12 and that’s correct so we do not need to change them.

II. How to Set the Margins in OpenOffice:
- Click on Format.
- Click on Page.
- Under Margins, set the margins for top, right, bottom, left to 1 inch (1″).

III. How To Create a Header in OpenOffice:
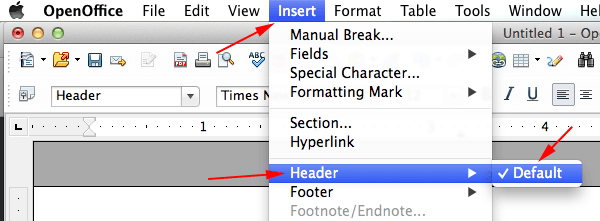
- Click Insert => Header => click on Default.
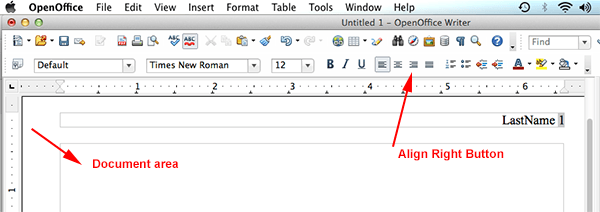
- Click on the Align Right icon.
- Type your Last Name => then press the Spacebar key on your computer keyboard once.
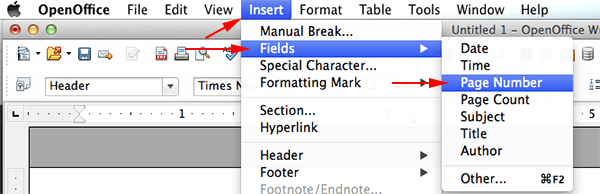
- Click Insert => Fields => Page Number (to insert automatic page numbering).
- Click on your document area to begin setting up your first page information.
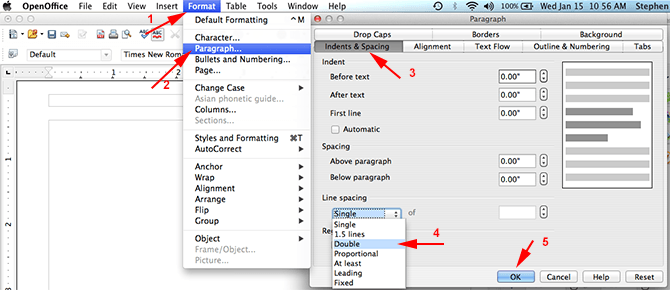
IV. How to Setup Line Spacing to Double Spaced:
- Click on Format => Paragraph.
- Click on the Indents & Spacing tab.
- Under Line Spacing, click on the up/down arrows => click on Double.
- Click OK to apply the setting.
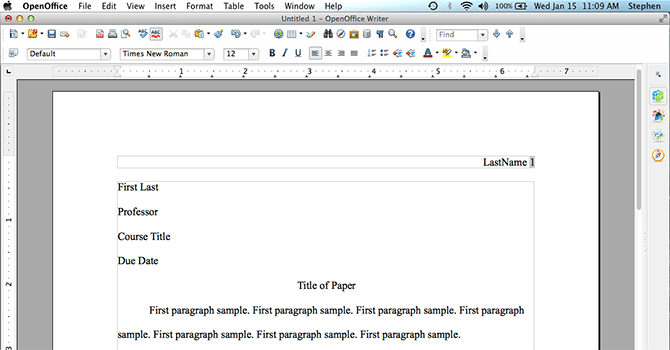
V. How to Enter the First Page Information:
- Type your full name => press Enter.
- Type your professor’s name => press Enter.
- Type course title => press Enter.
- Type your paper’s due date => press Enter.
- Click on the Align Center icon on the formatting toolbar (to center your blinking cursor) => Type the title of your paper, capitalizing the first letter and all major words and proper nouns. Do not use italics, boldfaced type, underlining, or all caps to format your title. Do not type a period at the end of the title => press Enter.
- Click on the Align Left icon (to bring your blinking cursor to the left).
- Click on the Tab key to indent 1/2 inch to begin your first paragraph. Use the Tab key on every next new paragraphs. Your completed setting should look like this:
VI. How to Setup the Works Cited Page:
Follow this how-to when you are ready to work on your Works Cited page. The Works Cited page has the following characteristics:
- A heading “Works Cited” centered one inch below the top edge of a new page. Do not bold or underline this heading.
- No indent on the first line of each entry. If an entry runs more than one line, indent the subsequent line or lines 1/2 inch from the left margin.
- Alphabetize entries in your list of works cited by the author’s last name, using the letter-by-letter system.
- Immediately after typing the final line of your paper, click on Insert => Manual Break => click on Page Break => click OK (to begin a new page). Your header with your last name and automatic page numbering should appear at the top right of your paper.
- Click on the align center icon so that the text is centered.
- Type Works Cited (do not underline, boldface, italicize, or enclose the title in quotation marks).
- Press the Enter key once to begin a new line.
- Click on the align left icon so that the text is aligned left.
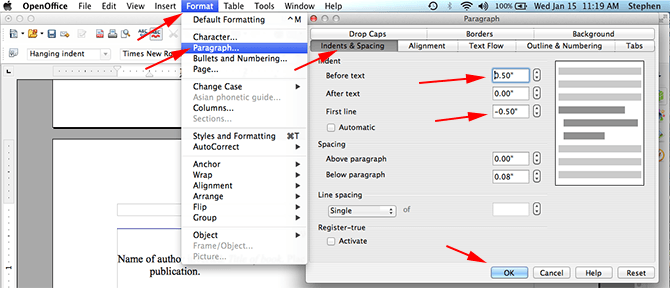
- The feature to setup indentation on the subsequent line/lines is called Hanging Indent. To setup hanging indent, click on Format => Paragraph => click on the Indents & Spacing tab => change the Before Text value to 0.50 => change the First Line value to –0.50 => click on OK to set the Hanging Indent.
- Now type your sources and finish your paper.
I hope you found this tutorial helpful. Take care!
Such a life saver!! Thank you!!
These simple easy to follow instructions were truly a life saver !!!!!
Now I can breathe.
Thank you so much !
These instructions are amazing. Thank you so much!
Just what I needed! Great instruction and a big time saver. Thank you so much!
Thanks so much! Exactly what I needed. Great instructions!
Awesome instructions. Very precise and easy to follow. This saved me a lot of time. Thank you!
Thank you